Getting Started with Bioscope: Sign Up & Onboarding
Last updated: September 2, 2026
Audience: New users — physicians and practice administrators signing up for Bioscope for the first time.
Overview
This guide walks you through creating your Bioscope account from start to finish. By the end, your account will be verified, your practice configured, and you'll be ready to use the platform.
Before you begin: We recommend Continue with Google, using your clinic or work email address. There's no separate password to create, manage or reset, and it's the smoothest path in.
Your email address is your account. Use the same address every time and you'll always land in the right place. Signing in with a different address — a personal Gmail instead of your clinic address, say — opens a different, empty account, which is the most common reason Bioscope looks empty after login.
See Signing In: Common Questions below if you're unsure which method you used, a password reset email never arrived, or your account looks empty.
Step 1 — Go to the Bioscope App
Open your browser and navigate to:
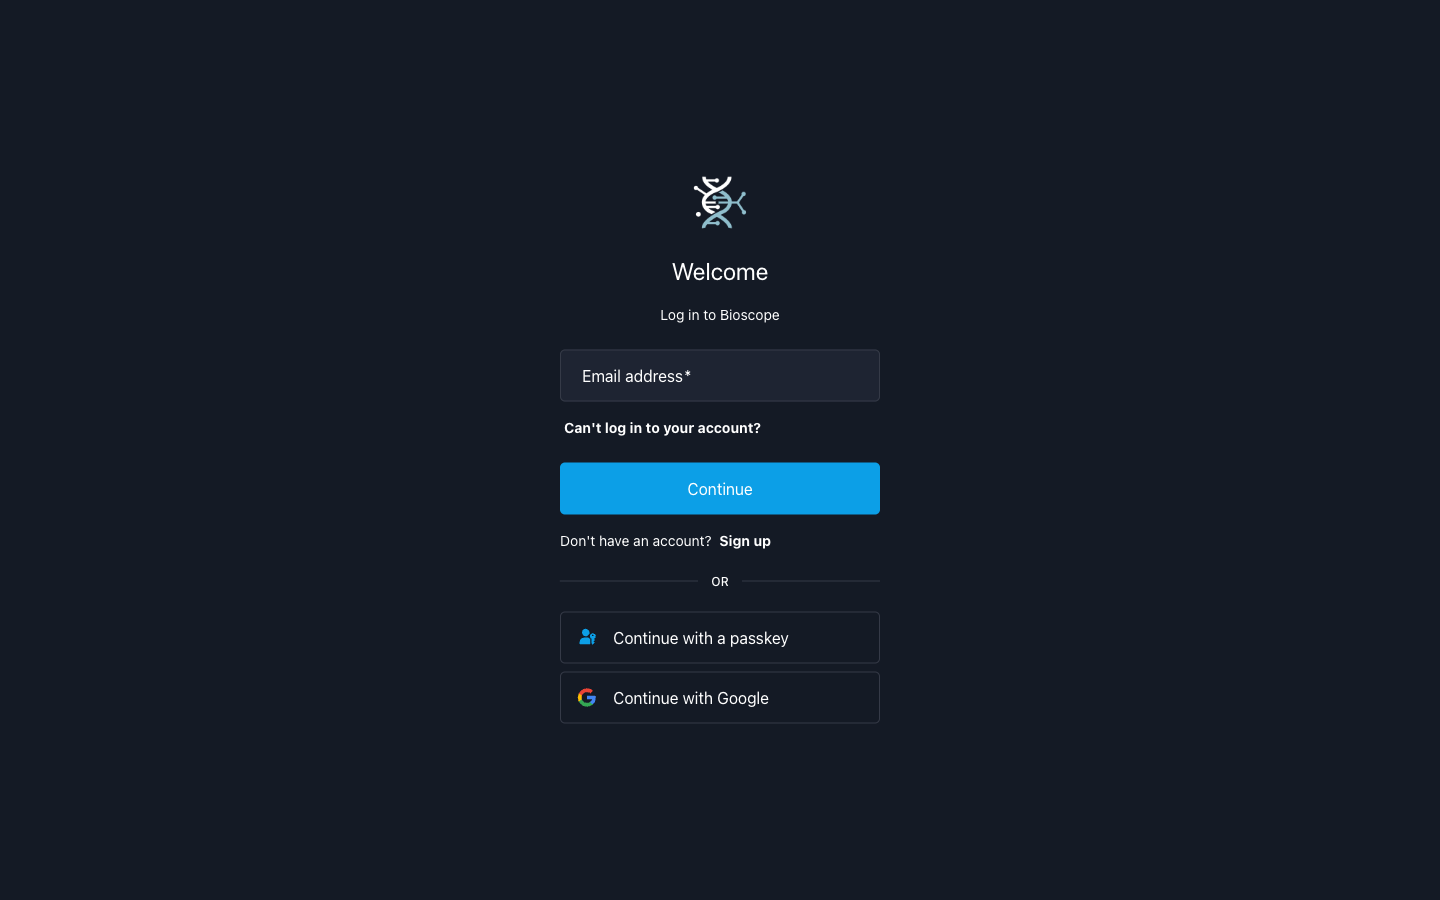
You'll land on the Welcome / Log in screen.
Screenshot:
Step 2 — Choose How You Want to Sign Up
On the login screen, click Sign up at the bottom. You'll be taken to the Create Your Account page.
Screenshot:
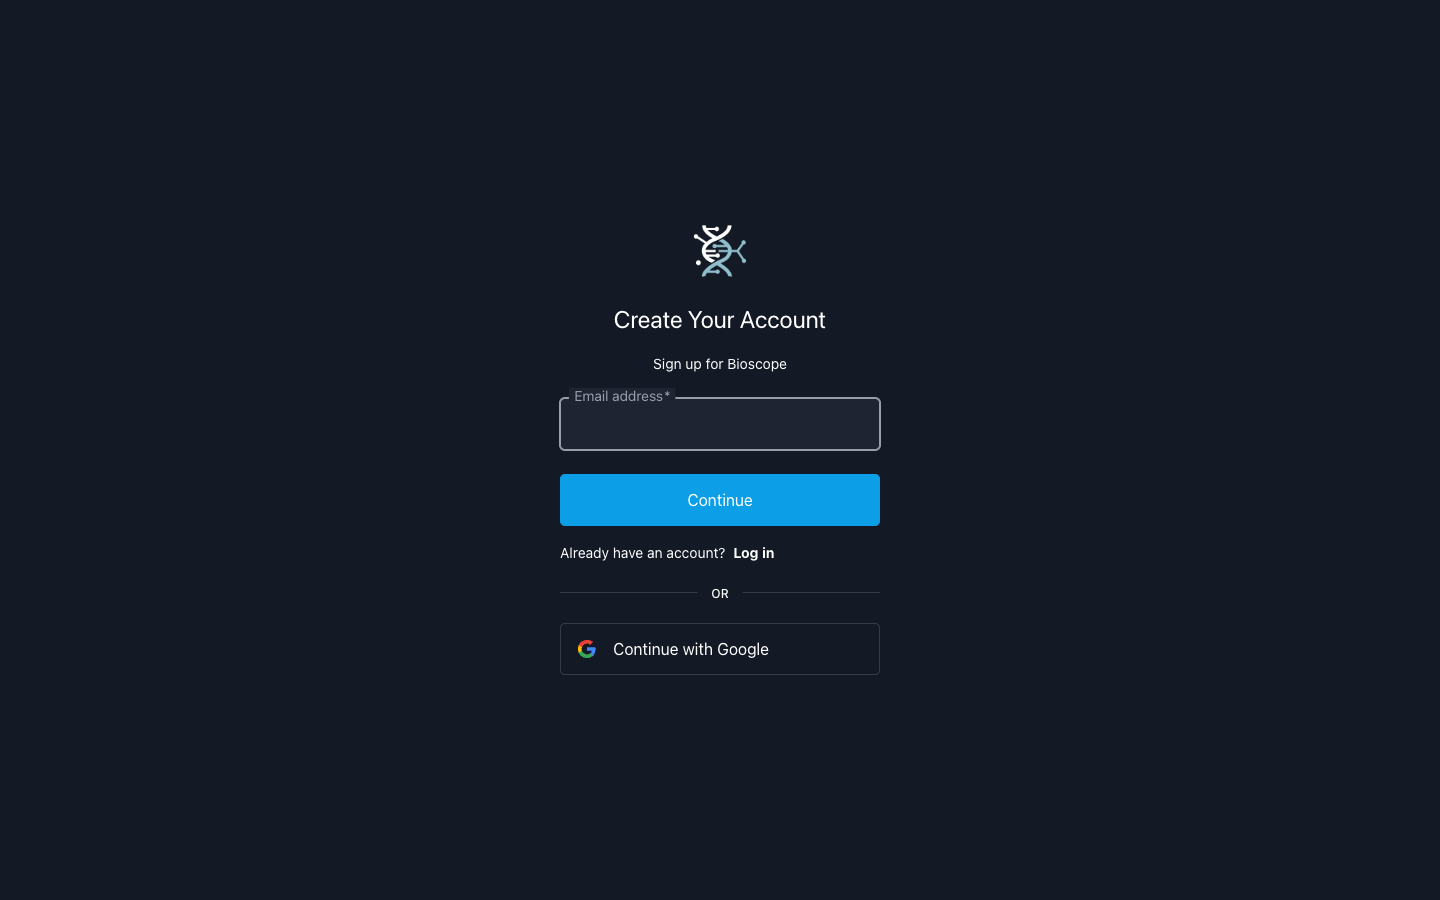
We recommend signing up with Google, using your work email address. It's the fastest route in, there's no separate password to manage or reset, and it avoids the most common sign-in problems our support team sees.
Recommended: Sign Up with Google (skip to Step 6 after completing)
Click Continue with Google at the bottom of the Create Your Account page.
You'll be redirected to Google's sign-in page to continue to bioscope.ai.
Screenshot:
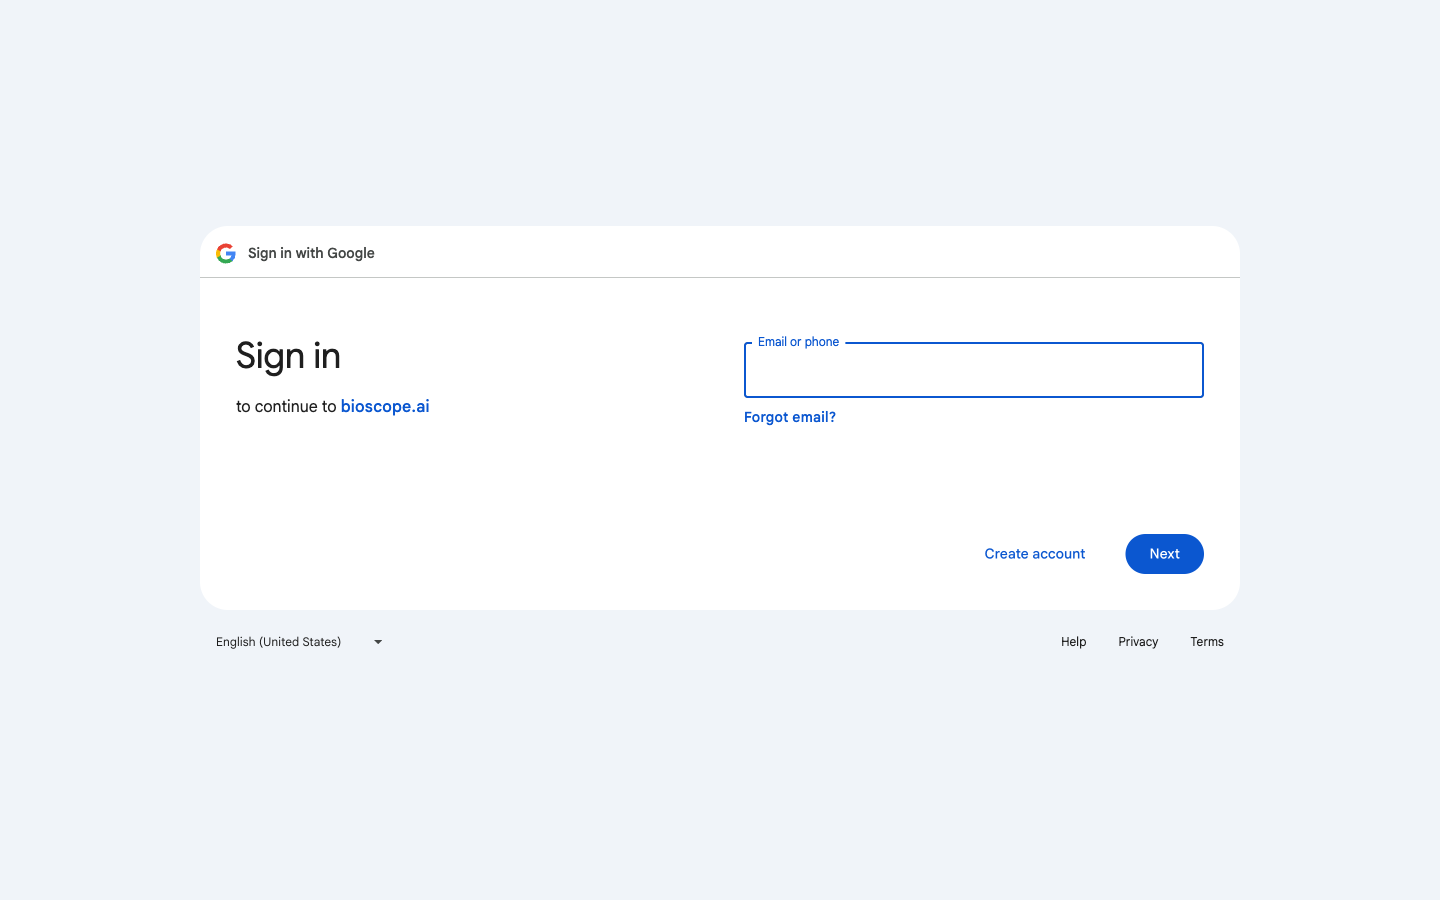
Choose the Google account that uses your clinic or work email address. This address becomes your Bioscope account, so use your work address rather than a personal one.
Complete Google's authentication (password or biometric — whichever your Google account uses).
Google verifies your identity and returns you directly to Bioscope. No email one-time passcode (OTP). No separate Bioscope password to create or remember.
You may be offered a passkey (see Step 4) — this is optional.
Skip directly to Step 6 — Choose Your Account Type.
On all future logins: go to app.us.bioscope.ai and click Continue with Google — the same Google account, every time. That's all there is to it.
Alternative: Sign Up with Email and Password
Use this only if your practice doesn't use Google accounts. You'll be responsible for a separate Bioscope password.
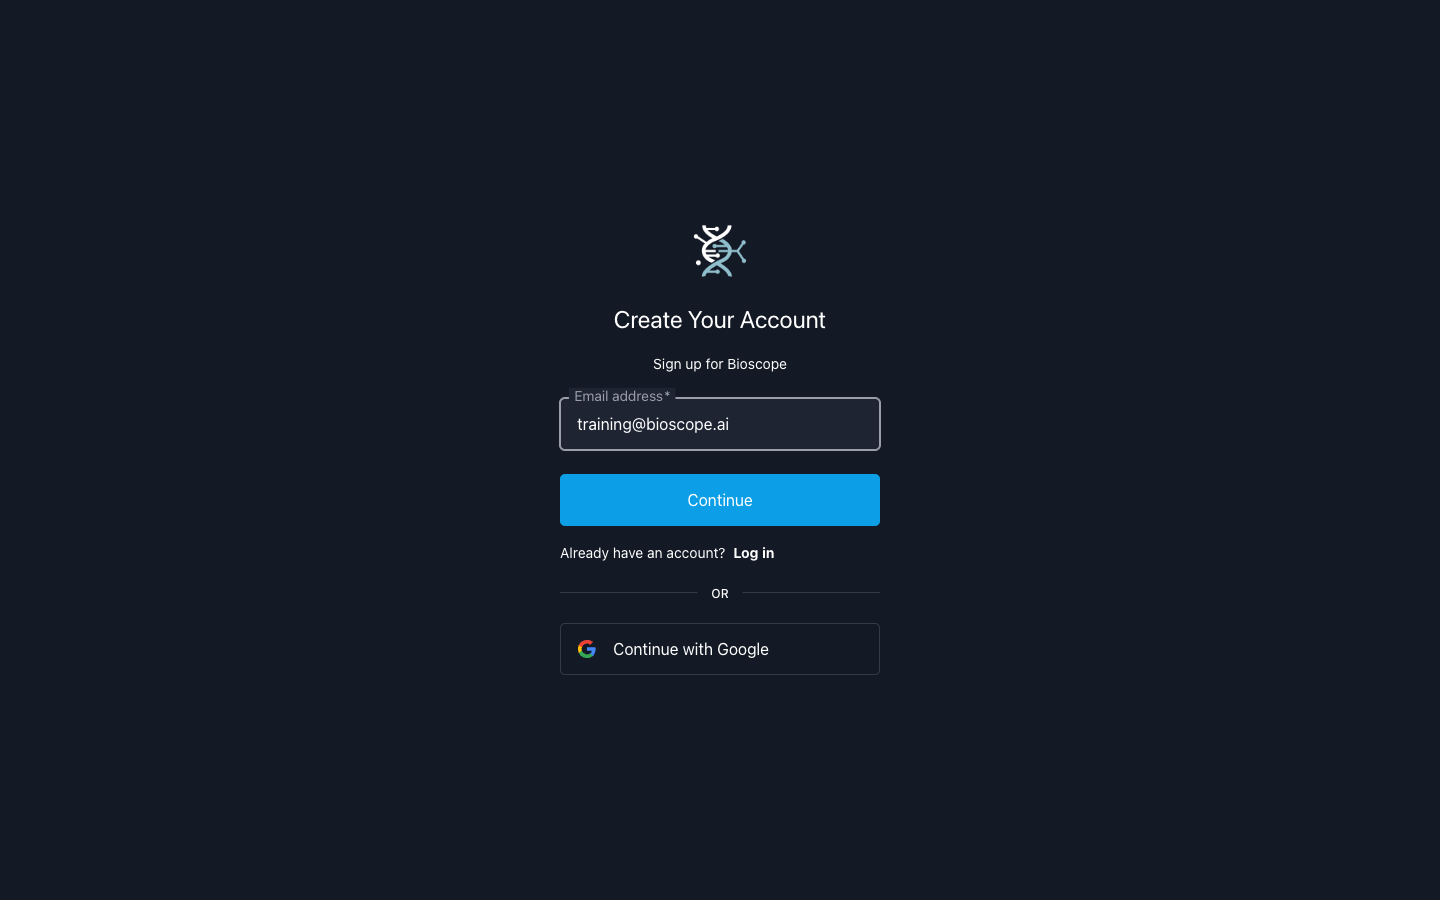
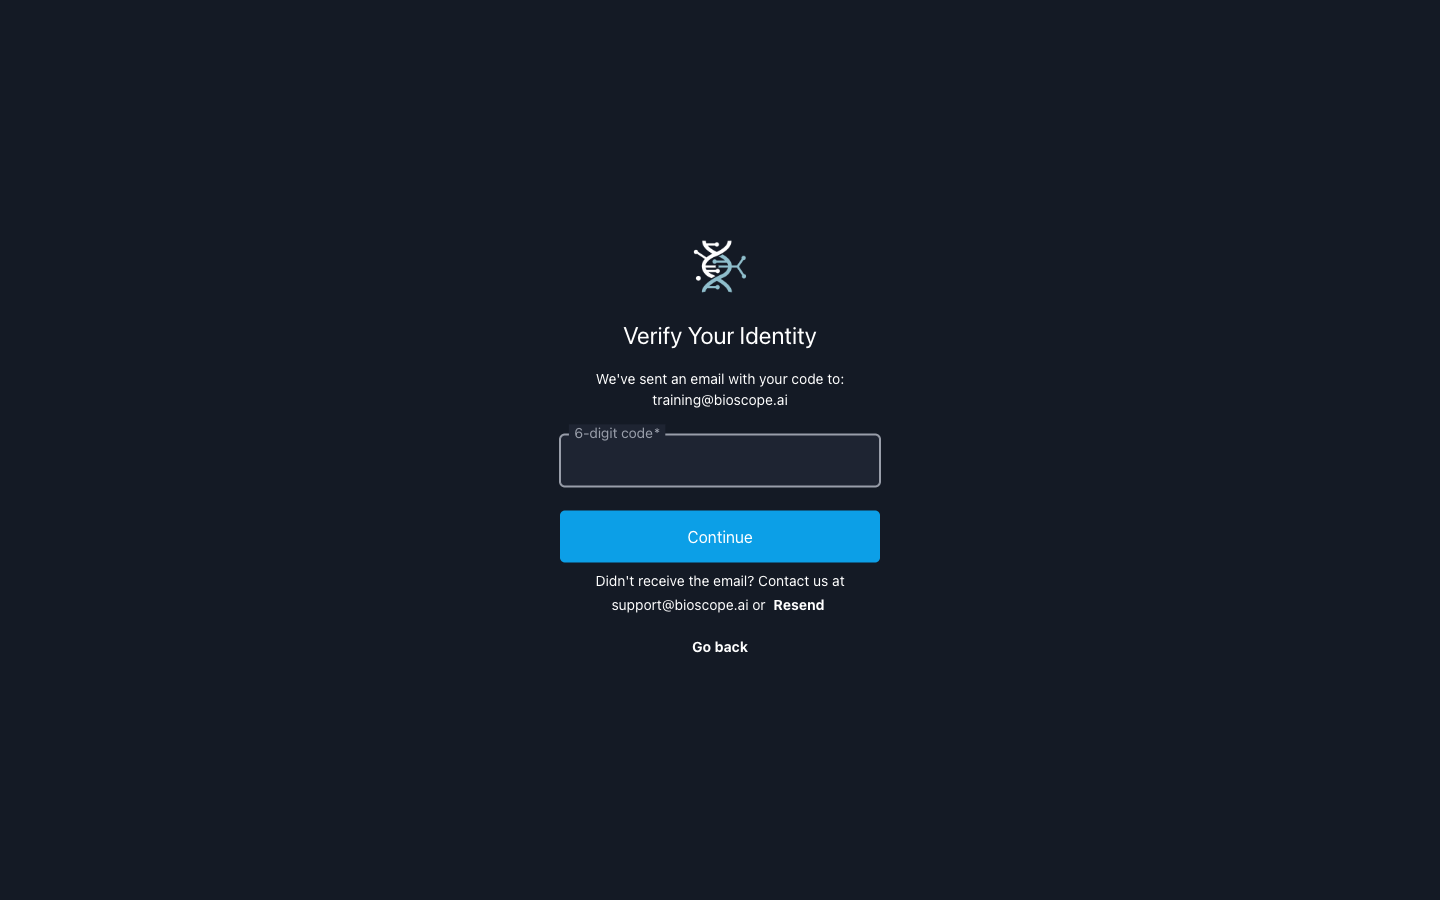
Enter your work email address in the Email address field and click Continue.
Bioscope sends a 6-digit verification code to your inbox.
After verifying, you will set a Bioscope password.
On all future logins, enter your email on the login screen and use your Bioscope password.
Screenshots:
Whichever you pick, use the same email address every time. Your email address is your account. Signing in with a different address — a personal Gmail instead of your clinic address, say — opens a different, empty account rather than yours. Sticking to one address is the single best thing you can do to avoid sign-in trouble.
Step 3 — Verify Your Email (Email sign-up only)
Google users: Skip this step. Google already verified your identity.
Check your inbox for an email from Bioscope containing a 6-digit verification code.
Open the email and locate the code.
Return to Bioscope and type the code into the verification field.
Screenshot:
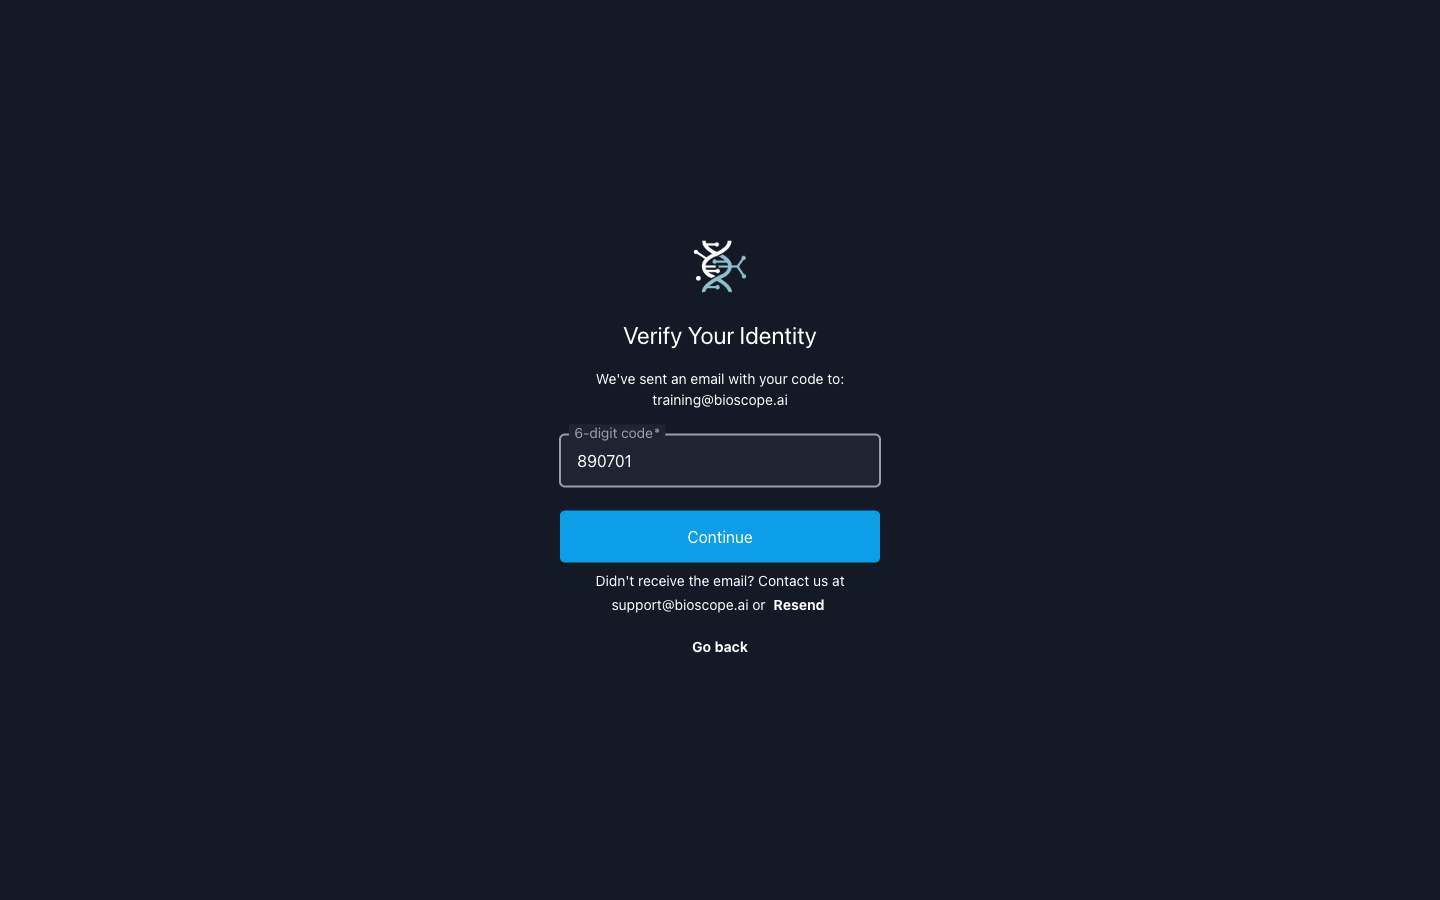
Press Enter or click Continue.
Tip: Didn't receive the email? Check your spam folder or click Resend on the verification screen. You can also contact support@bioscope.ai.
Step 4 — Create a Passkey (Optional — all users)
After verification (or after Google login), Bioscope may offer to create a passkey on your device. Passkeys allow you to log in using your device's fingerprint or Face ID.
Screenshot:
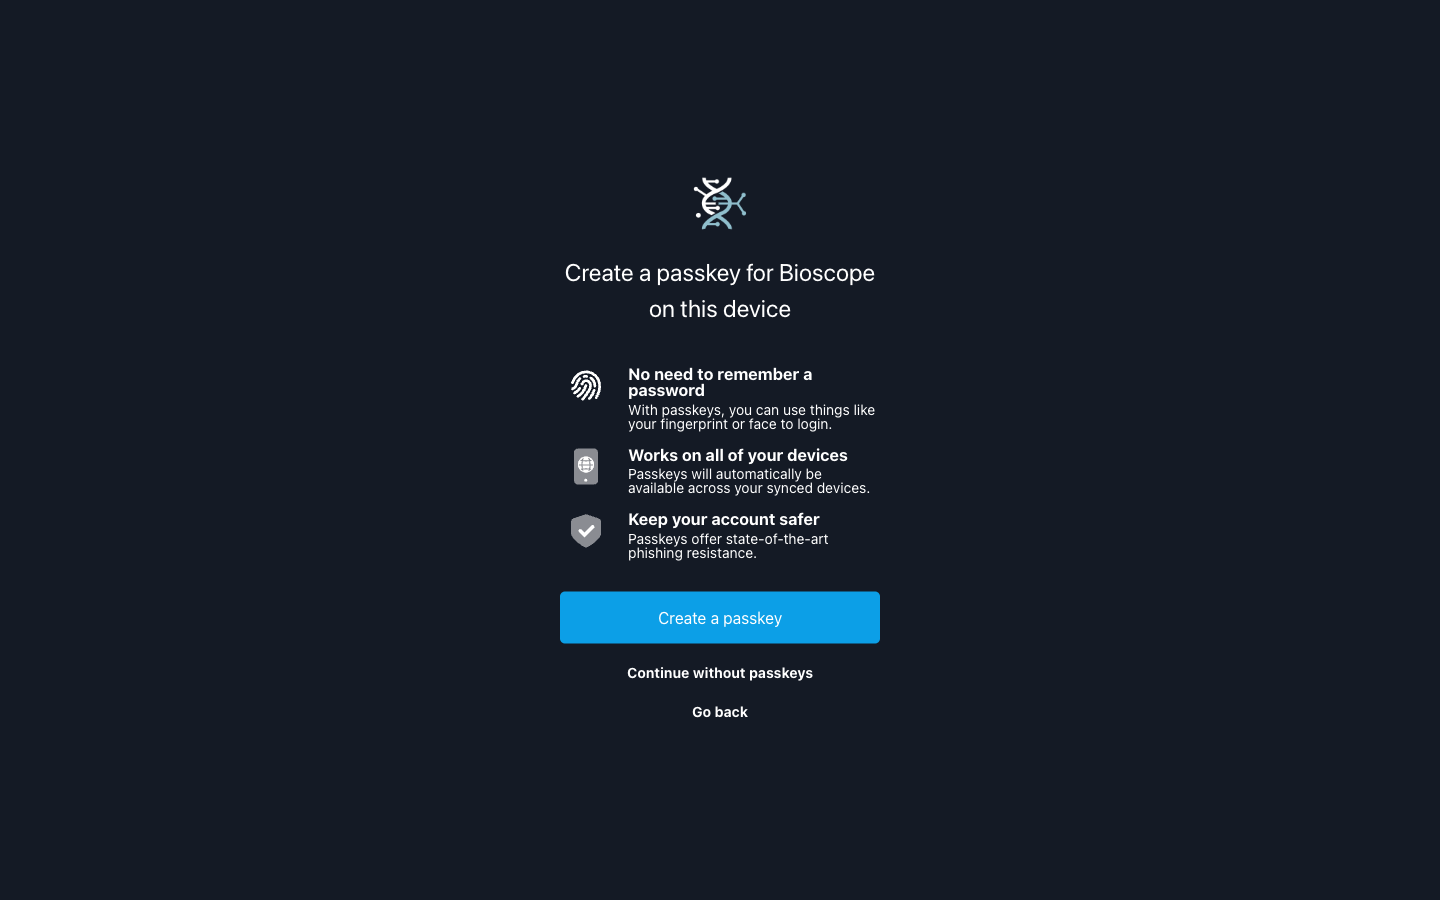
Click Create a passkey to enable biometric login.
Click Continue without passkeys to skip.
Note: You can add a passkey later from your account settings.
Step 5 — Set Your Password (Email sign-up only)
Google users: Skip this step. Google manages your authentication — no Bioscope password is required or created.
You'll be prompted to create a Bioscope password.
Screenshots:
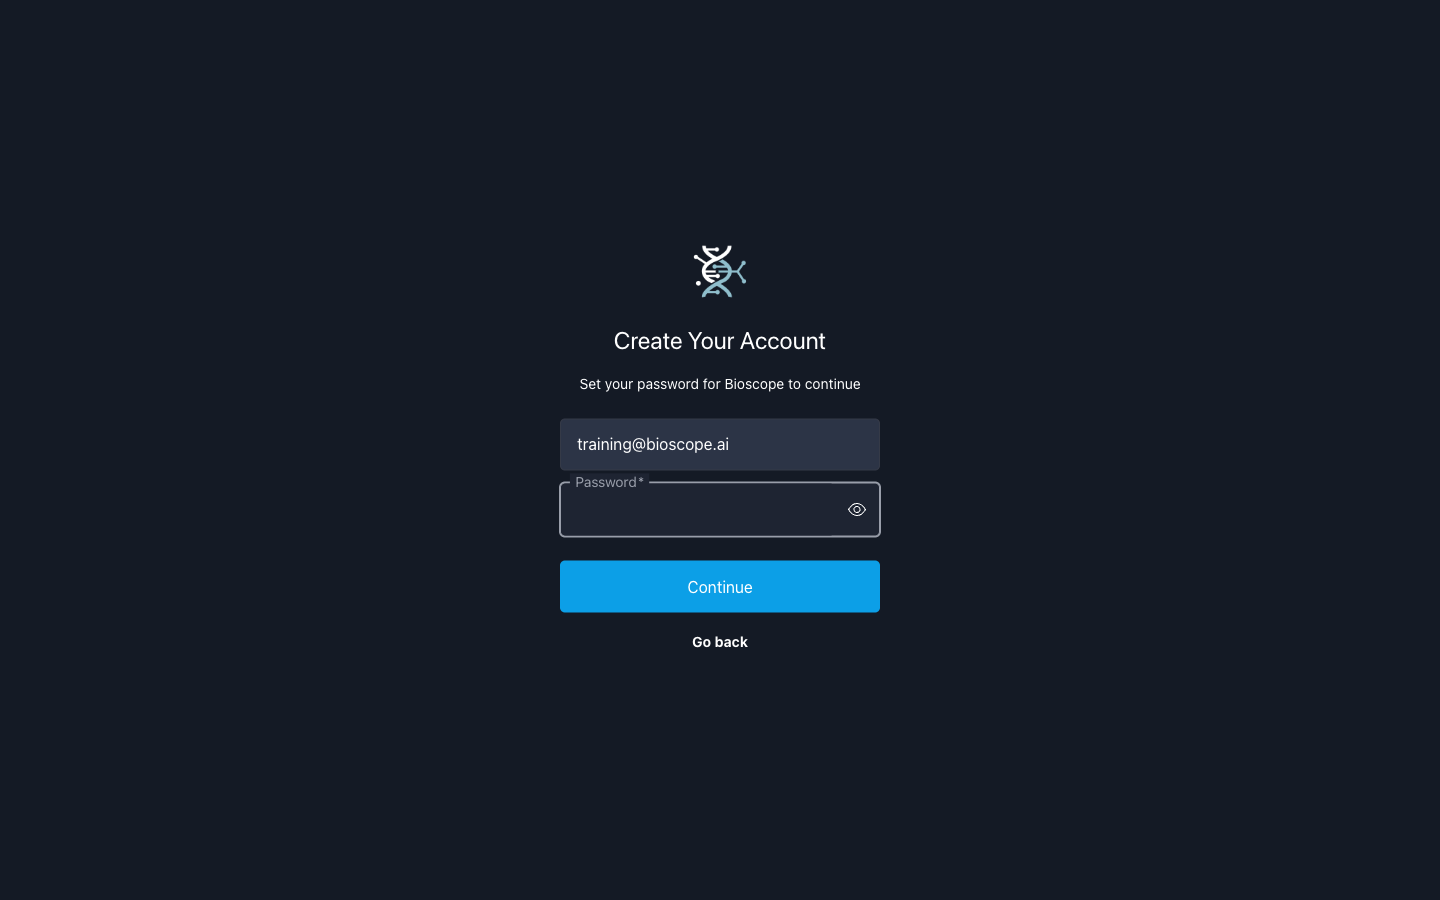
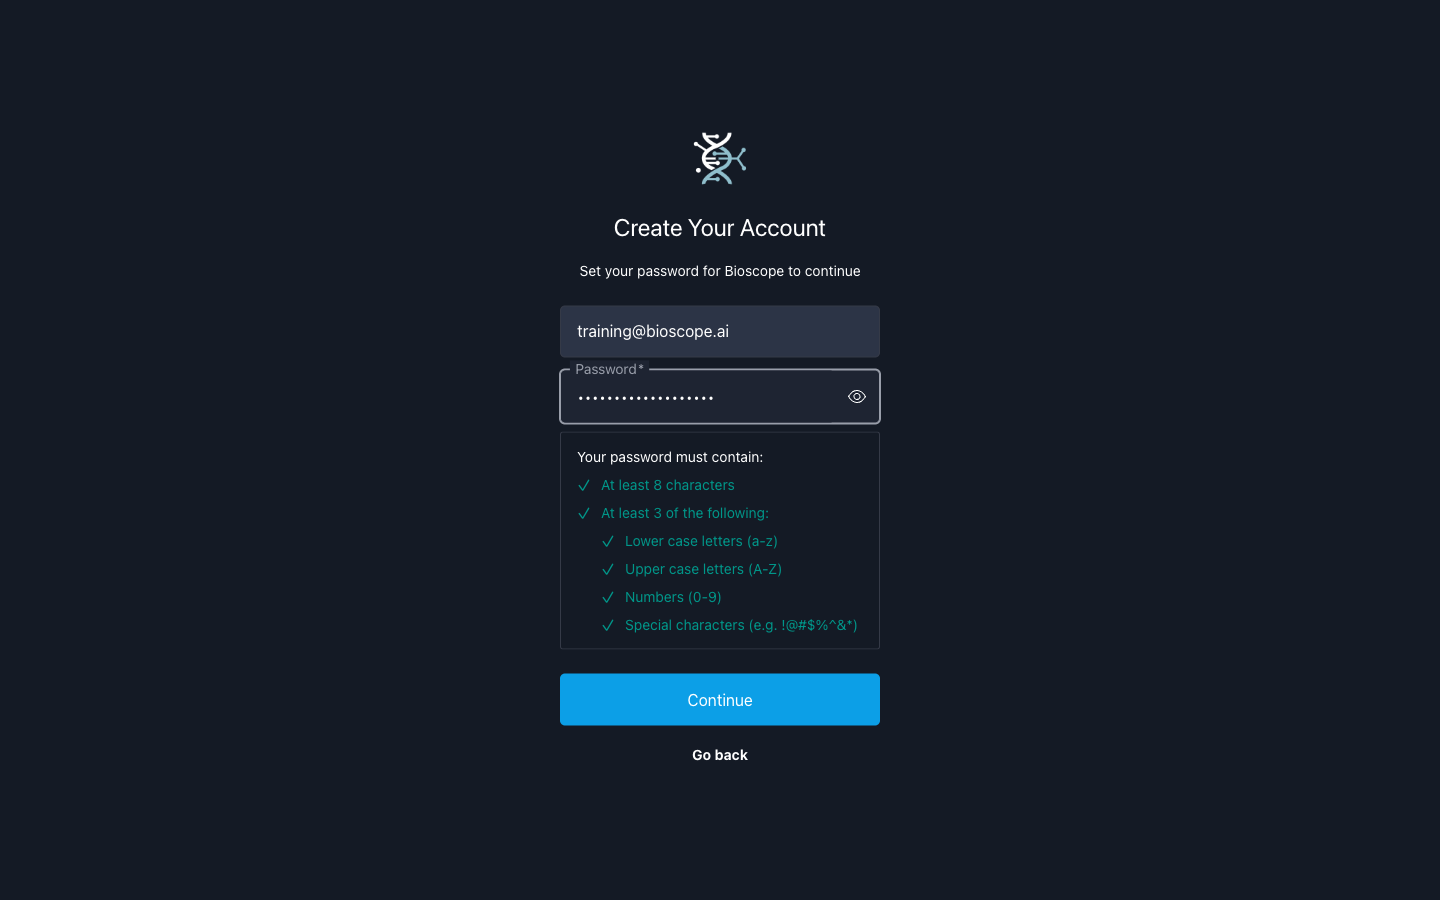
Your password must include:
At least 8 characters
At least 3 of the following:
Lowercase letters (a–z)
Uppercase letters (A–Z)
Numbers (0–9)
Special characters (e.g.
!@#$%^&*)
Click Continue to proceed.
Remember this password. You'll need it every time you log in. If you forget it, use the Can't log in? link on the login screen to reset it.
Step 6 — Choose Your Account Type
Once inside Bioscope, the welcome wizard asks how you plan to use the platform.
Screenshot:
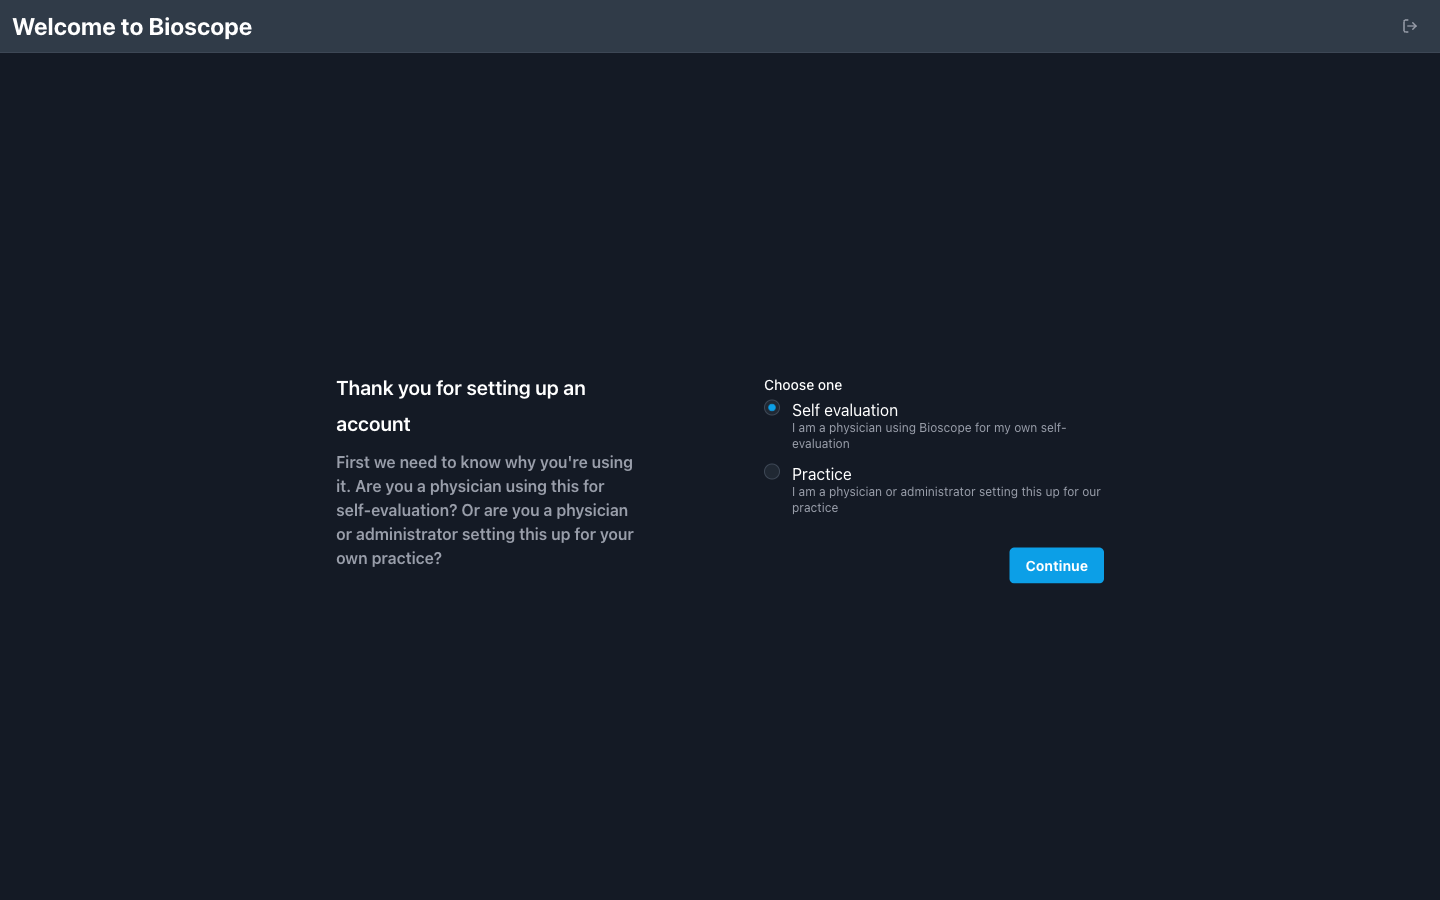
Option | Who it's for |
|---|---|
Self evaluation | A physician using Bioscope for their own personal health monitoring |
Practice | A physician or administrator setting up Bioscope for a clinical practice and its patients |
Select your option and click Continue.
Concierge practice tip: If you are setting up Bioscope for your practice, select Practice.
Step 7 — Complete Your Profile
Practice Path
Screenshots:
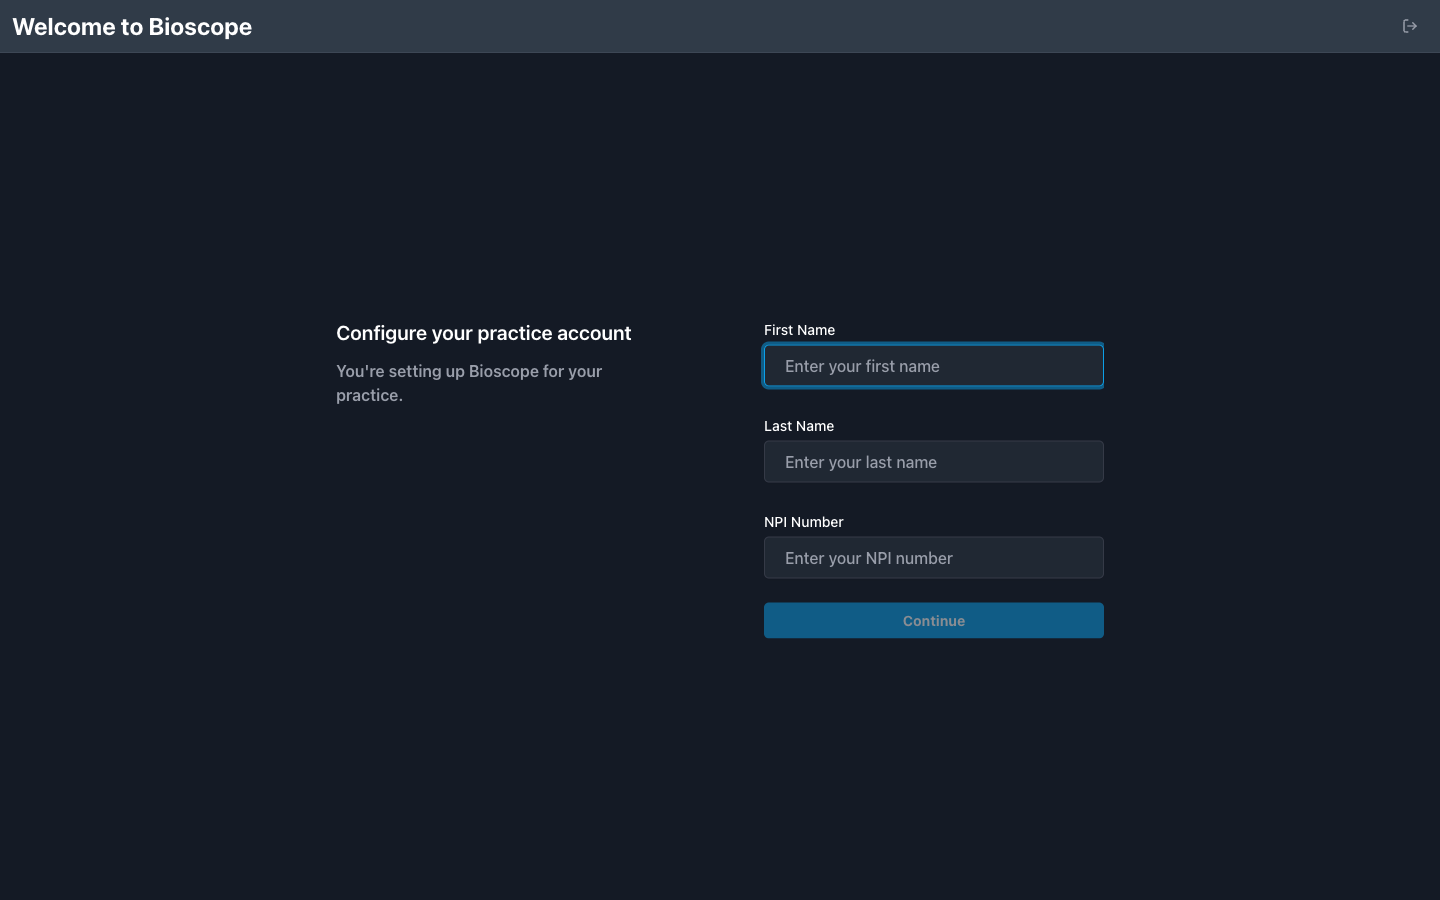
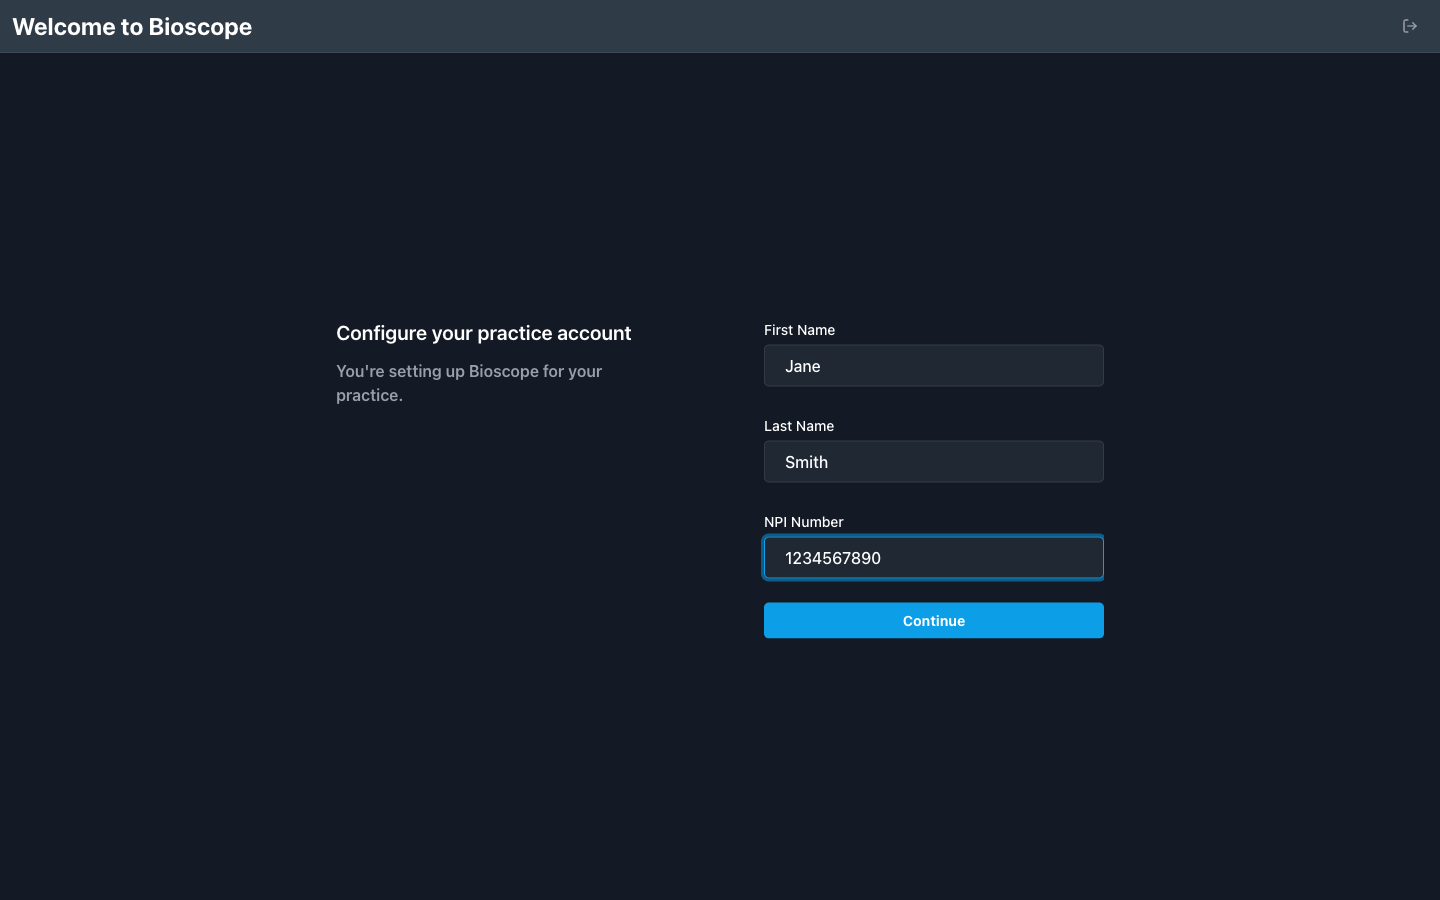
First Name and Last Name
NPI Number — your 10-digit National Provider Identifier
Fill in all fields and click Continue.
Self Evaluation Path
First Name and Last Name
Date of Birth
Phone Number
Genetic Sex — select from the dropdown
Address — where your sample collection kit will be shipped
Fill in all required fields and click Create Account.
Step 8 — Account Agreement
Bioscope will ask you to review and accept the Account Agreement governing documents.
Screenshot:
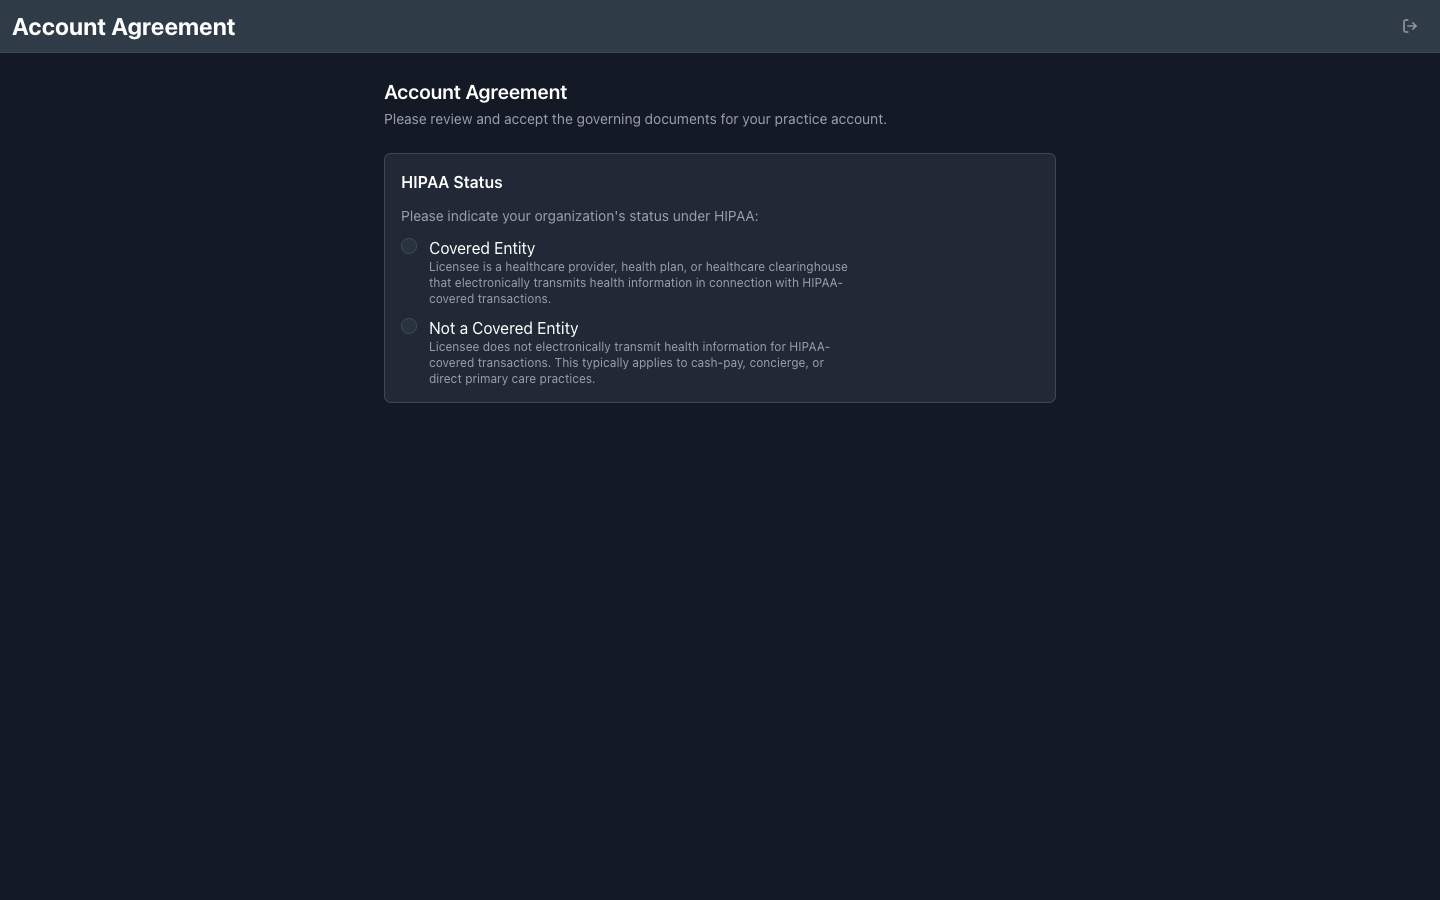
HIPAA Status
Indicate your organization's HIPAA status — select the option that applies to your practice:
Option | Description |
|---|---|
Covered Entity | A healthcare provider that electronically transmits health information for HIPAA-covered transactions (e.g., submits insurance claims) |
Not a Covered Entity | Does not electronically transmit health information for HIPAA-covered transactions — typically applies to cash-pay, concierge, or direct primary care practices |
If you are unsure, consult your compliance advisor.
Sign the Agreement
Review the linked governing documents.
Check I have read and agree to the governing documents listed above.
Type your full name in the signature field.
Click Submit.
Screenshot:
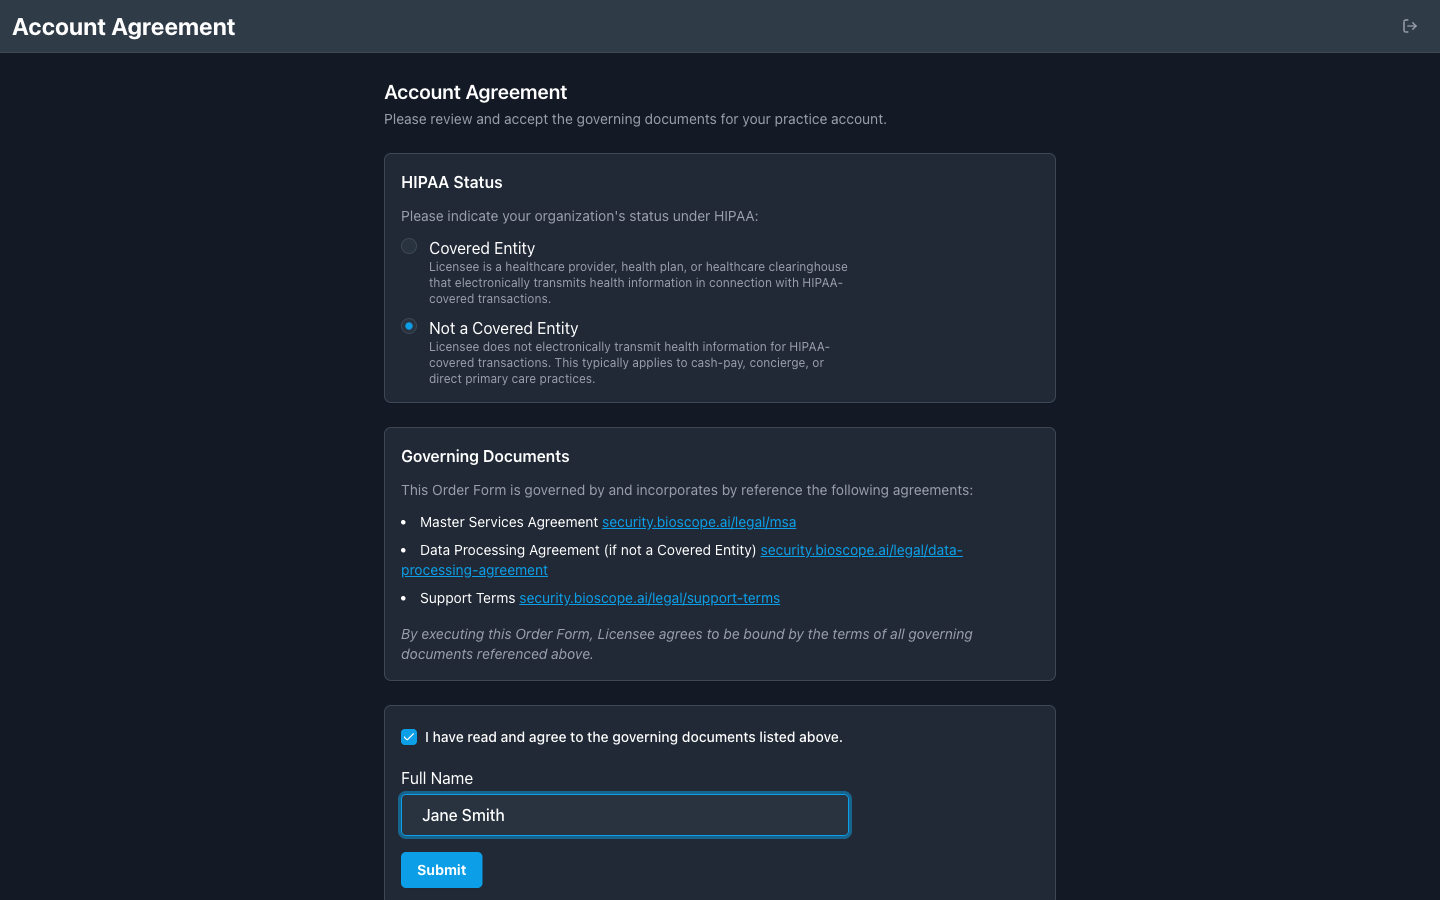
After submitting, Bioscope will send a confirmation email to your inbox with links to all the documents you signed: the Master Services Agreement, Support Terms, and either the Business Associate Agreement (Covered Entity) or the Data Processing Agreement (Not a Covered Entity). Save this email for your records.
Step 9 — Payment Setup
Bioscope requires a payment method on file before you can access the platform.
Note: You won't be charged until you add patients and select services for them.
Screenshot:
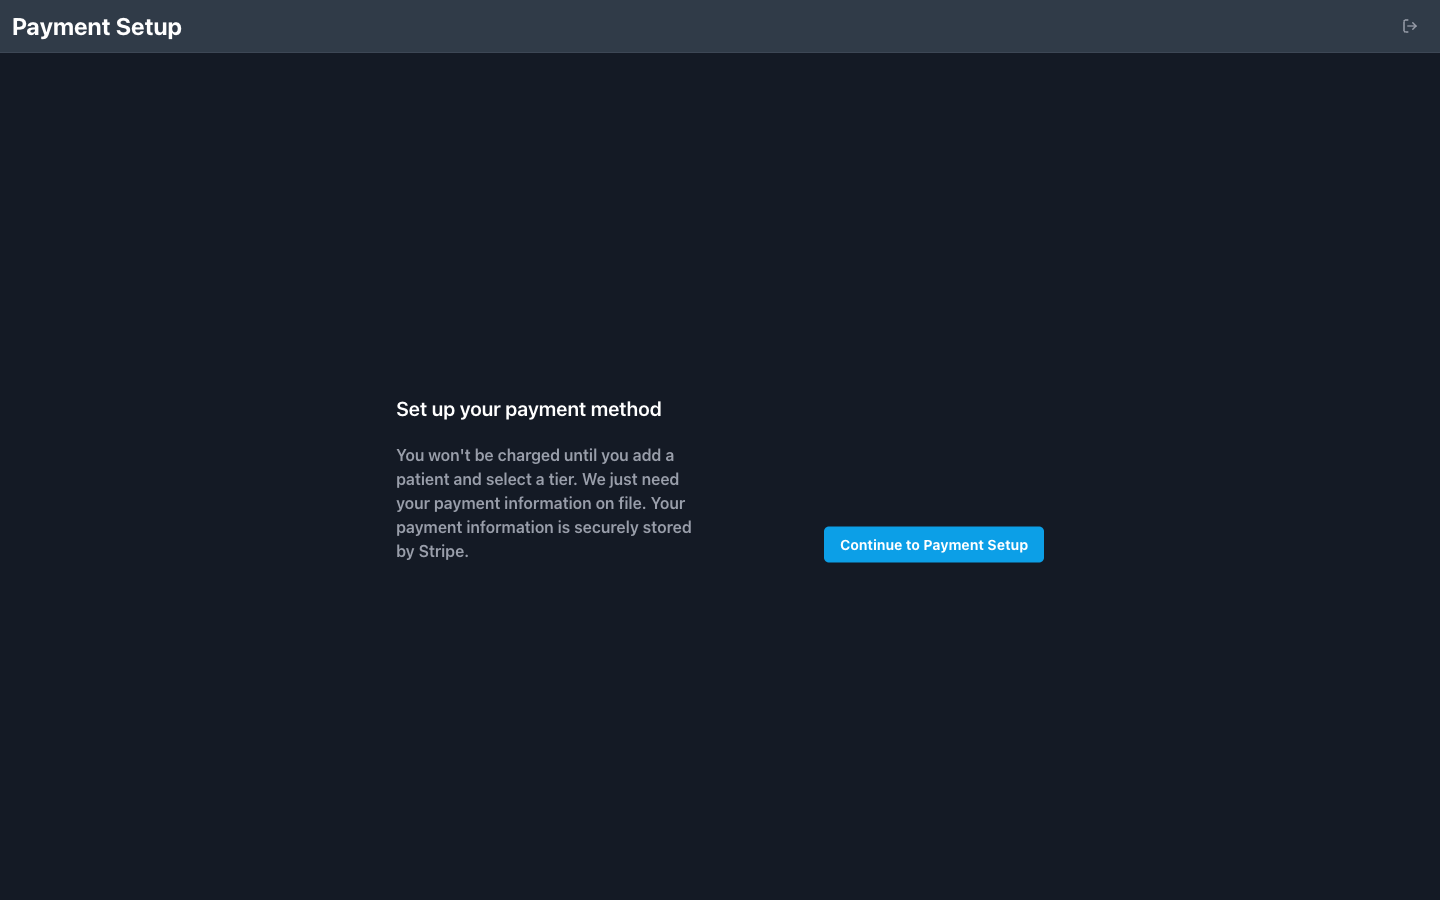
Click Continue to Payment Setup. You'll be taken to a secure Stripe-powered checkout page.
Screenshot:
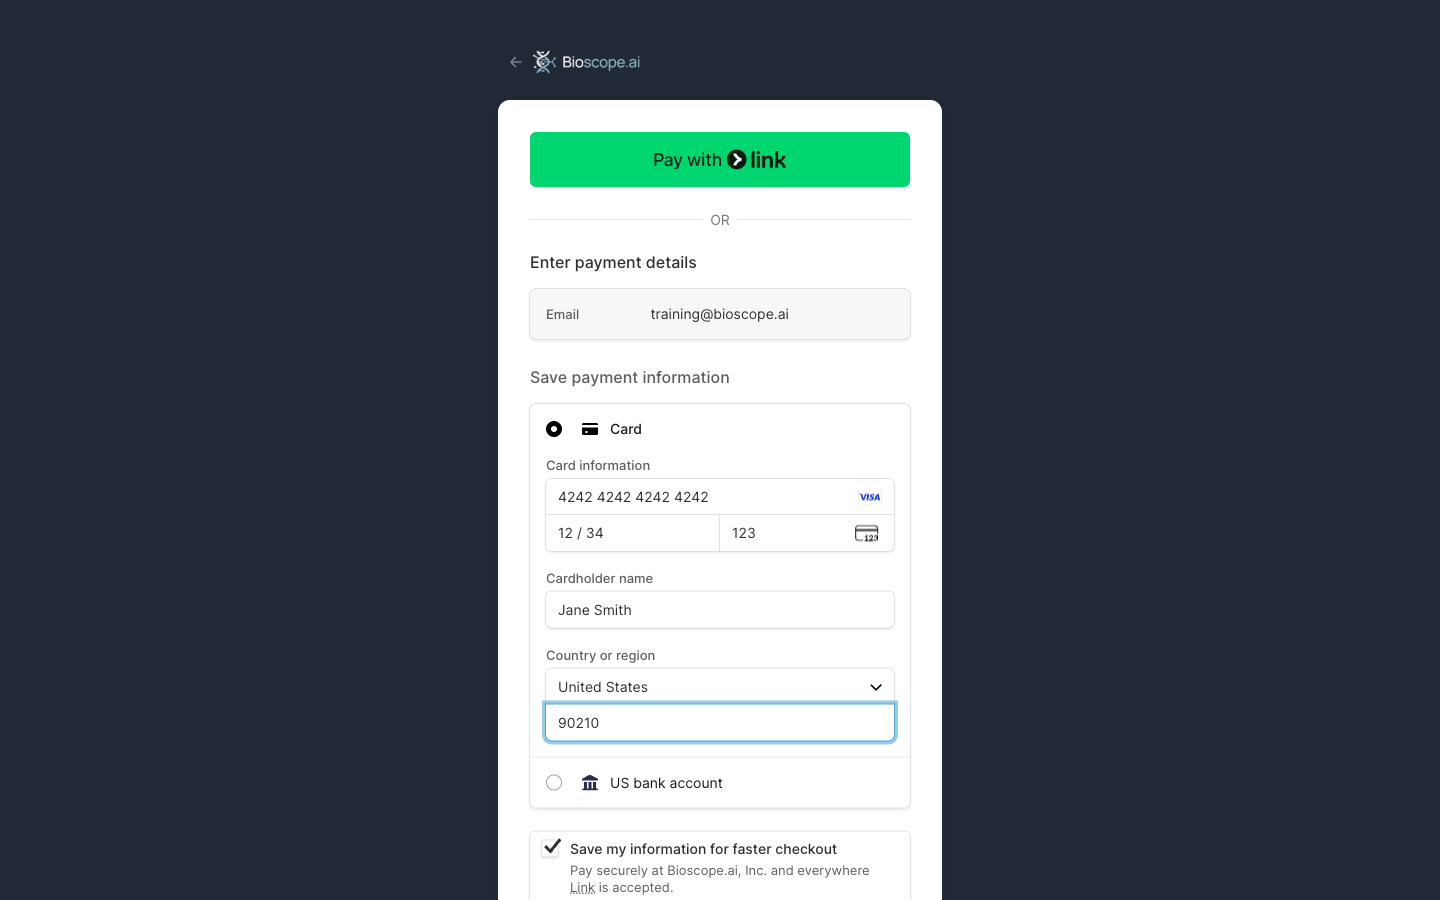
Select Card and enter your credit card details.
Click Save.
Once payment is saved, you'll land on the Bioscope dashboard — your main hub for managing patients, reviewing data, and configuring practice settings.
Signing In: Common Questions
Start here: use Continue with Google, with your work email
Almost every sign-in problem comes down to one of two things — the wrong method, or the wrong email address. Continue with Google, using the Google account on your clinic or work email, resolves both. There's no password to remember and no reset email to wait for.
Your email address is your account. Use the same address every time and you'll always reach the same place.
How do I know which method I used?
It's very common to forget, and you don't need to work it out. Click Continue with Google and choose the Google account that uses your work email. If you get in, that's your method — carry on using it.
I'm entering my email and password, and nothing I try works
Stop trying passwords. If every one is rejected, your account most likely has no password at all, because it was created through Google. Click Continue with Google instead.
I requested a password reset and never got the email
This is the same situation as above. We only send a reset email to an address that has a password set — if your account was created through Google, there is no password to reset, so no email is sent.
The page looks the same either way, because we don't reveal which email addresses are registered with us; that protects your account from people fishing for valid logins. Check your spam folder, then use Continue with Google — that's the way into your account.
I signed up with a password. Should I switch to Google?
You don't have to, but it's the smoother option and we'd encourage it. Click Continue with Google and pick the Google account that uses the same email address as your existing account. That links the two — it doesn't create a second account, and nothing moves or is lost. From then on, Continue with Google gets you in and there's no password to manage.
I use Google. Can I also have an email and password?
You can, but we don't recommend adding one — it's a second credential to manage and reset, and it's the source of most lockouts. If your practice's policy requires it, register again using the exact same email address on your Google account: enter the address, confirm the verification code we send to it, and choose a password. Because the address is verified, this links to your existing account rather than creating a new one, and both methods will then work.
Could someone else claim my email address that way?
No. The verification code is sent to the mailbox itself, so only someone who can open your email can finish the process.
I clicked Continue with Google and my account looks empty. Where is my data?
Your data is fine, and you don't have a second account to worry about. This happens when the Google account you signed in with uses a different email address than the one you registered with — typically a personal Gmail instead of your clinic address.
Sign out and sign back in with Continue with Google on your work email address, and everything will be there. To stop it recurring, check which Google account is selected on Google's sign-in screen before continuing. Get in touch if you aren't sure which address you started with.
Can I give my login to my assistant or a colleague?
No — please don't share a login. Sign-in credentials belong to one person, and shared ones make it impossible to tell who did what in the account. If someone else on your team needs access, contact us and we'll set them up with their own.
Still stuck?
Contact support@bioscope.ai and tell us the email address you're using and whether you've tried Continue with Google. We'll sort it out.
Troubleshooting
Issue | Solution |
|---|---|
Can't log in — "no account found" | Use Continue with Google with your work email address. A different address (e.g. personal Gmail vs clinic address) is a different account |
Every password I try is rejected | Your account probably has no password, because it was created through Google. Stop trying passwords and use Continue with Google |
Password reset email never arrived | Same cause: reset emails only go to addresses that have a password set, and Google-created accounts have none. Use Continue with Google |
Signed in with Google and the account looks empty | Wrong Google account. Sign out, then Continue with Google on your work email address — check which account Google has selected before continuing |
Tired of managing a Bioscope password | Click Continue with Google using the same email address as your account. It links to your existing account; nothing is lost |
Didn't receive the verification code | Check spam/junk; click Resend on the verification screen |
Verification code expired | Codes expire after 10 minutes — click Resend for a new one |
Forgot Bioscope password | Use Can't log in to your account? on the login screen to reset — or switch to Continue with Google and stop managing one |
Password doesn't meet requirements | Include uppercase, lowercase, a number, and a special character |
Payment setup required | Complete payment setup — no charge until patients are added |
This information is for clinical decision support and does not replace clinical judgment.
Last updated: August 2026